Key Highlights
-
Icing is crucial for a new injury to reduce swelling, inflammation, and pain.
-
Apply an ice pack for no more than 15-20 minutes at a time to avoid tissue damage.
-
For acute injuries, use ice, not heat, to constrict blood vessels and limit inflammation.
-
The RICE method (Rest, Ice, Compression, Elevation) is a proven strategy for the initial healing process.
-
Wait at least 30 to 40 minutes between icing sessions to allow blood flow to return to the area.
-
After the initial swelling subsides (usually after 48-72 hours), you can consider switching to or alternating with heat.
Introduction
You've twisted an ankle or strained a muscle, and the first thing you reach for is an ice pack. It's a classic remedy, but are you doing it right? Knowing how long to apply ice to an injured area is key to getting the most benefit. Applying ice correctly can significantly reduce swelling and pain, helping you get back on your feet faster. This guide will walk you through everything you need to know about icing an injury, from the right timing to the best techniques.
Why Icing Is Important for Injury Recovery
When you suffer from soft tissue injuries like sprains or strains, your body's natural response is inflammation. This is part of the healing process, but it also brings along swelling and pain. Icing is a simple yet powerful tool to manage these initial symptoms.
By applying cold to the injury, you help control the inflammation, which can ease discomfort and prevent excessive swelling. This initial step is vital for a smoother recovery. Understanding how ice works and when to use it over heat can make a big difference in how quickly you heal.
How Does Ice Reduce Swelling and Pain?
Have you ever wondered what an ice pack actually does beneath your skin? When you apply cold to an injury, it causes the blood vessels in that area to constrict, or narrow. This constriction reduces blood flow to the site of the injury, which helps limit the amount of fluid that builds up, thereby decreasing swelling and inflammation.
This process also has a numbing effect, which provides temporary pain relief. It's a straightforward way to calm down an angry, inflamed area and give your body a head start on healing.
However, it's important not to overdo it. Icing for longer than 20 minutes can trigger a reaction called reactive vasodilation, where the body tries to warm the tissues by widening the blood vessels again. This can counteract the benefits, so sticking to the recommended time is crucial for effective treatment.
When Should You Choose Ice Over Heat for an Injury?
Deciding between an ice pack and a heating pad can be confusing. The general rule is simple: use ice for new injuries and heat for chronic issues. Ice is your go-to for the first 48 to 72 hours after an acute injury like a sprain or a fall. The cold helps minimize swelling and numbs the pain, which is exactly what you need when an injury is fresh.
In contrast, you should use heat for conditions that don't involve recent swelling. Heat therapy is excellent for soothing stiffness, tight muscles, and some types of chronic pain like arthritis. Applying heat increases blood flow, which can help relax muscles and ease persistent aches.
Here’s a quick guide:
-
Use ice for: Recent injuries (within the last 3 days), swelling, and inflammation.
-
Use heat for: Chronic pain, muscle stiffness, and spasms not caused by a new injury.
Never apply heat to a new injury, as it can increase blood flow and make swelling worse.
How Long and How Often Should You Ice an Injury?
The "how long" question is the most common one when it comes to icing. For most injuries, the sweet spot is 15 to 20 minutes of icing per session. This is long enough to reduce inflammation without risking damage to your skin or nerves. The frequency depends on the severity of the injury and your doctor's advice.
Generally, you can ice the injured area several times a day, especially within the first 48 hours. The key is to listen to your body and allow for proper breaks between sessions to let your skin return to its normal temperature. Let's look closer at the optimal timing and how it applies to different injuries.
The 15-Minute Rule: Optimal Timing and Frequency
The 15-minute rule is a reliable guideline for icing. Applying an ice pack for about 15 to 20 minutes effectively reduces pain and swelling without causing harm. During this time, the cold penetrates the tissue and constricts blood vessels, slowing down the inflammatory response.
After your 15-20 minutes of icing are up, it's crucial to take a break. You should wait at least 30 to 40 minutes before applying ice again. This "off" period allows the tissues to warm up and restores normal blood flow, preventing potential skin or nerve damage from prolonged exposure to cold.
For the first 24 to 48 hours after an injury, you can repeat this cycle several times throughout the day. This consistent approach helps keep swelling under control and provides ongoing pain relief, setting the stage for a better recovery.
Icing Different Injuries: Sprains, Strains, and Common Areas (with NatraCure Product Suggestions)
While the 15-minute rule is a great general guideline, the exact approach can vary slightly depending on the injury. A minor ankle sprain might need less frequent icing than a severe muscle strain in a large muscle group like the hamstrings. It’s always best to start icing as soon as possible after an injury to get ahead of the swelling.
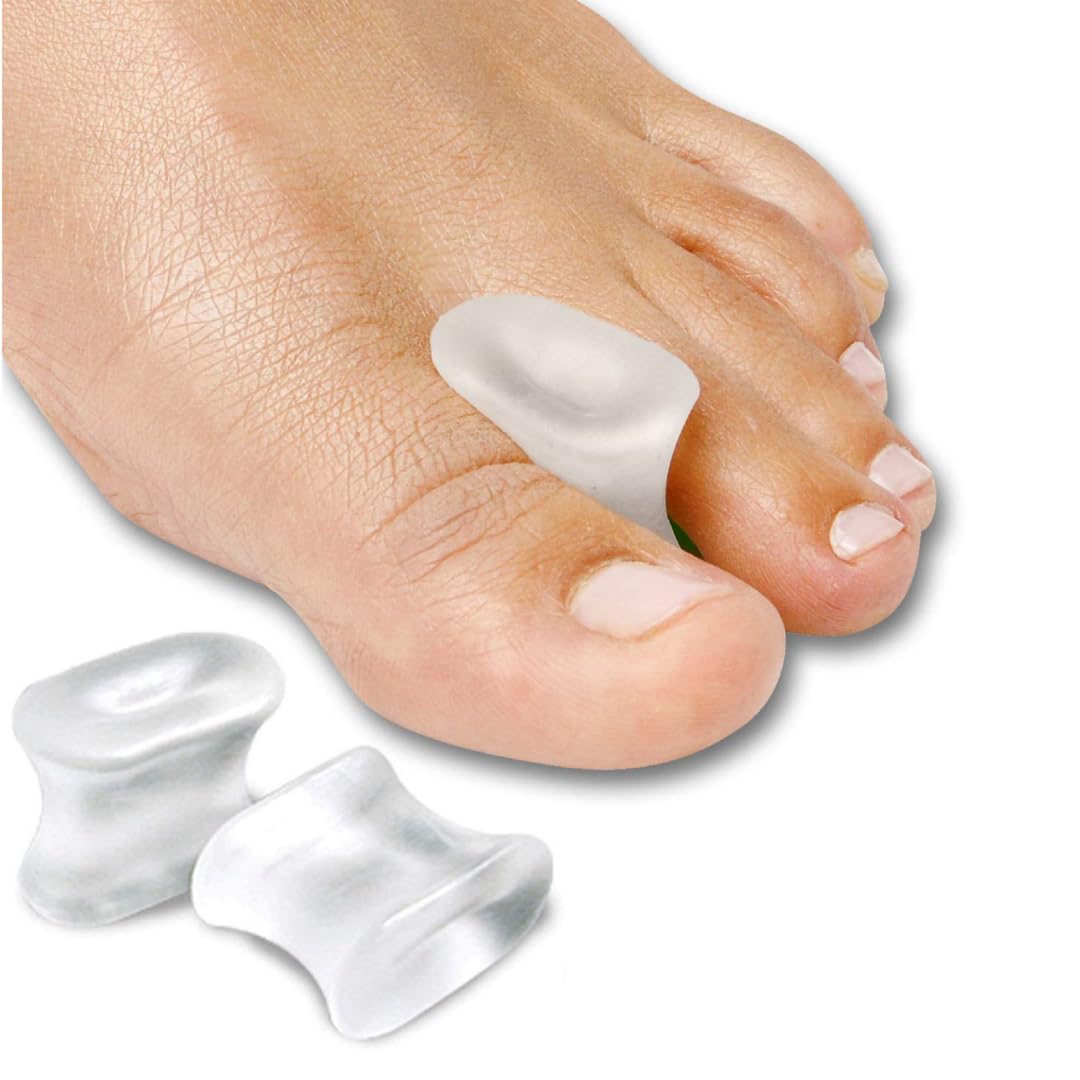
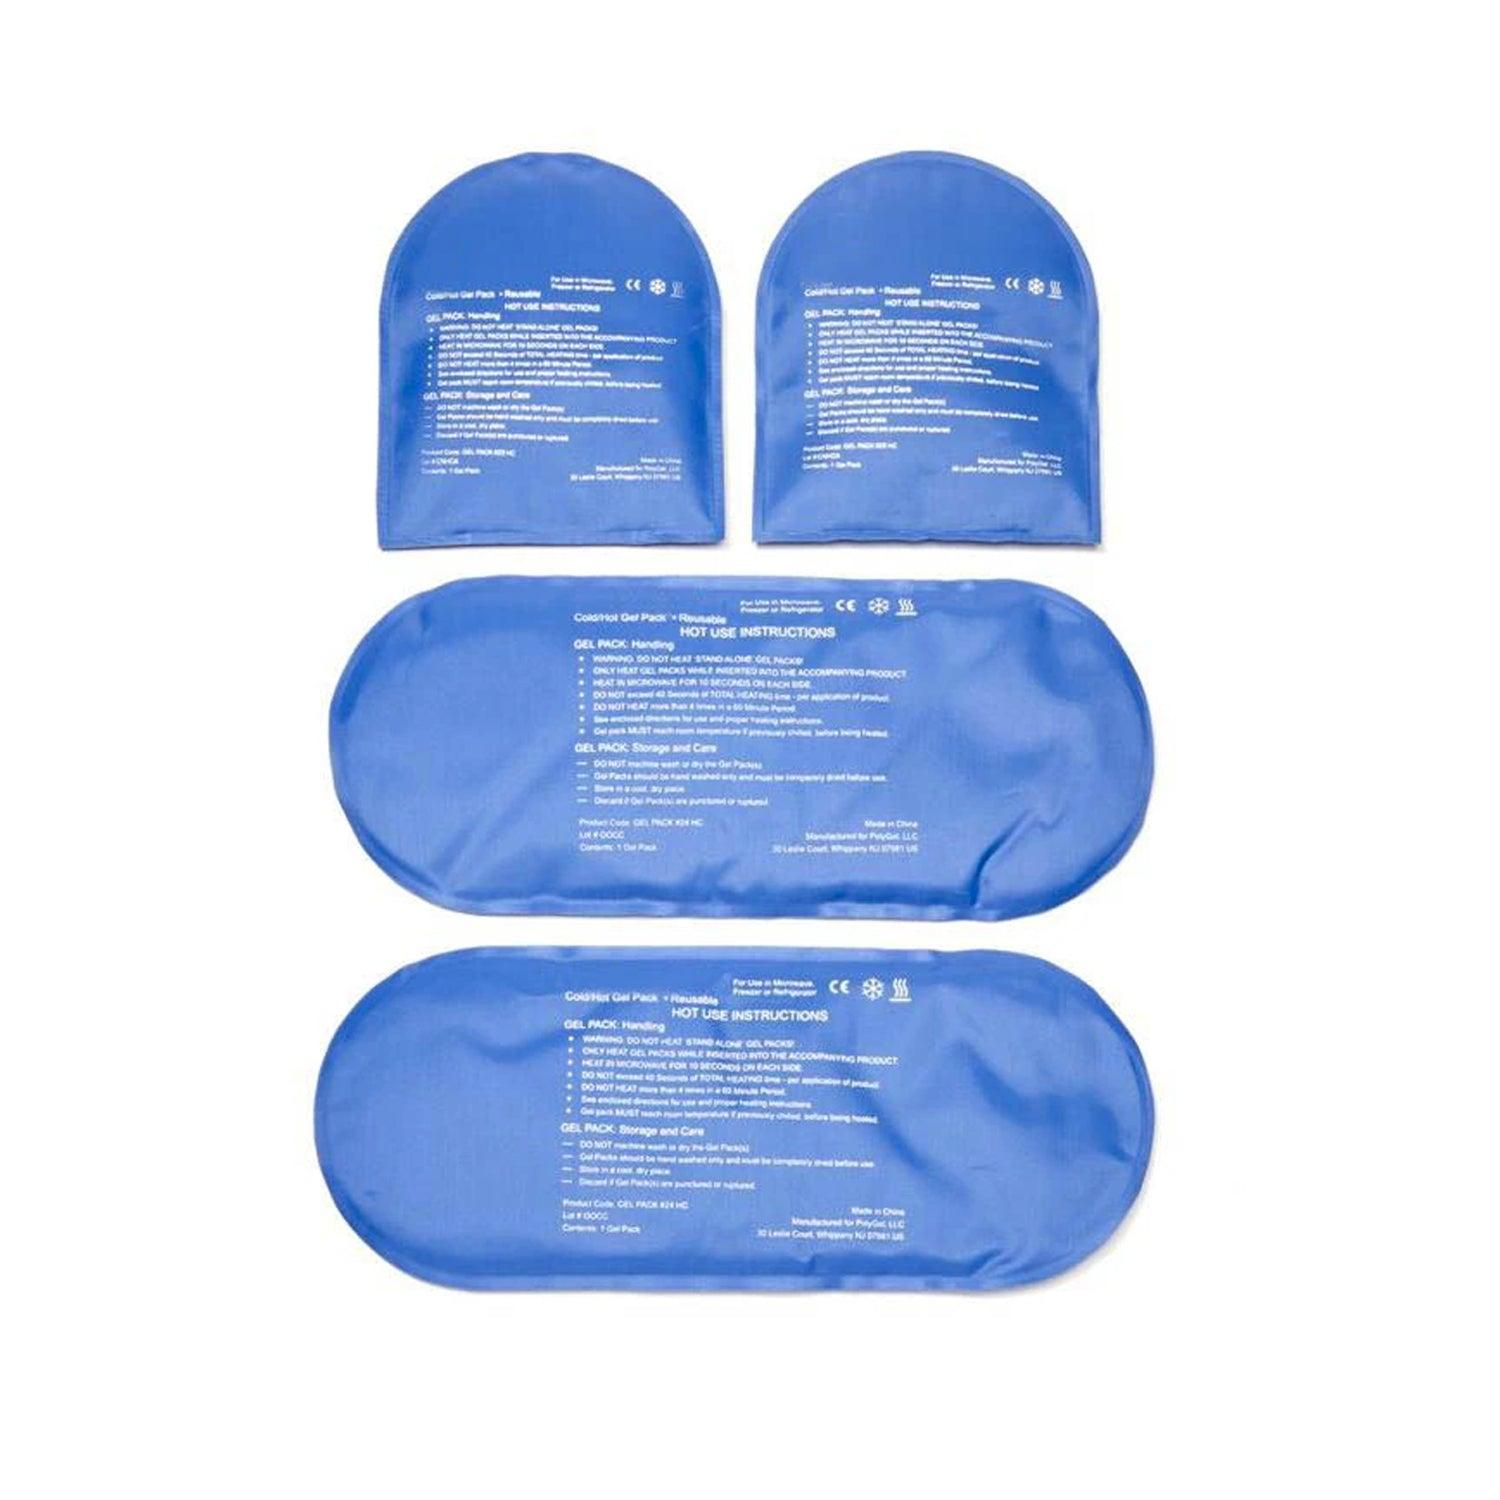
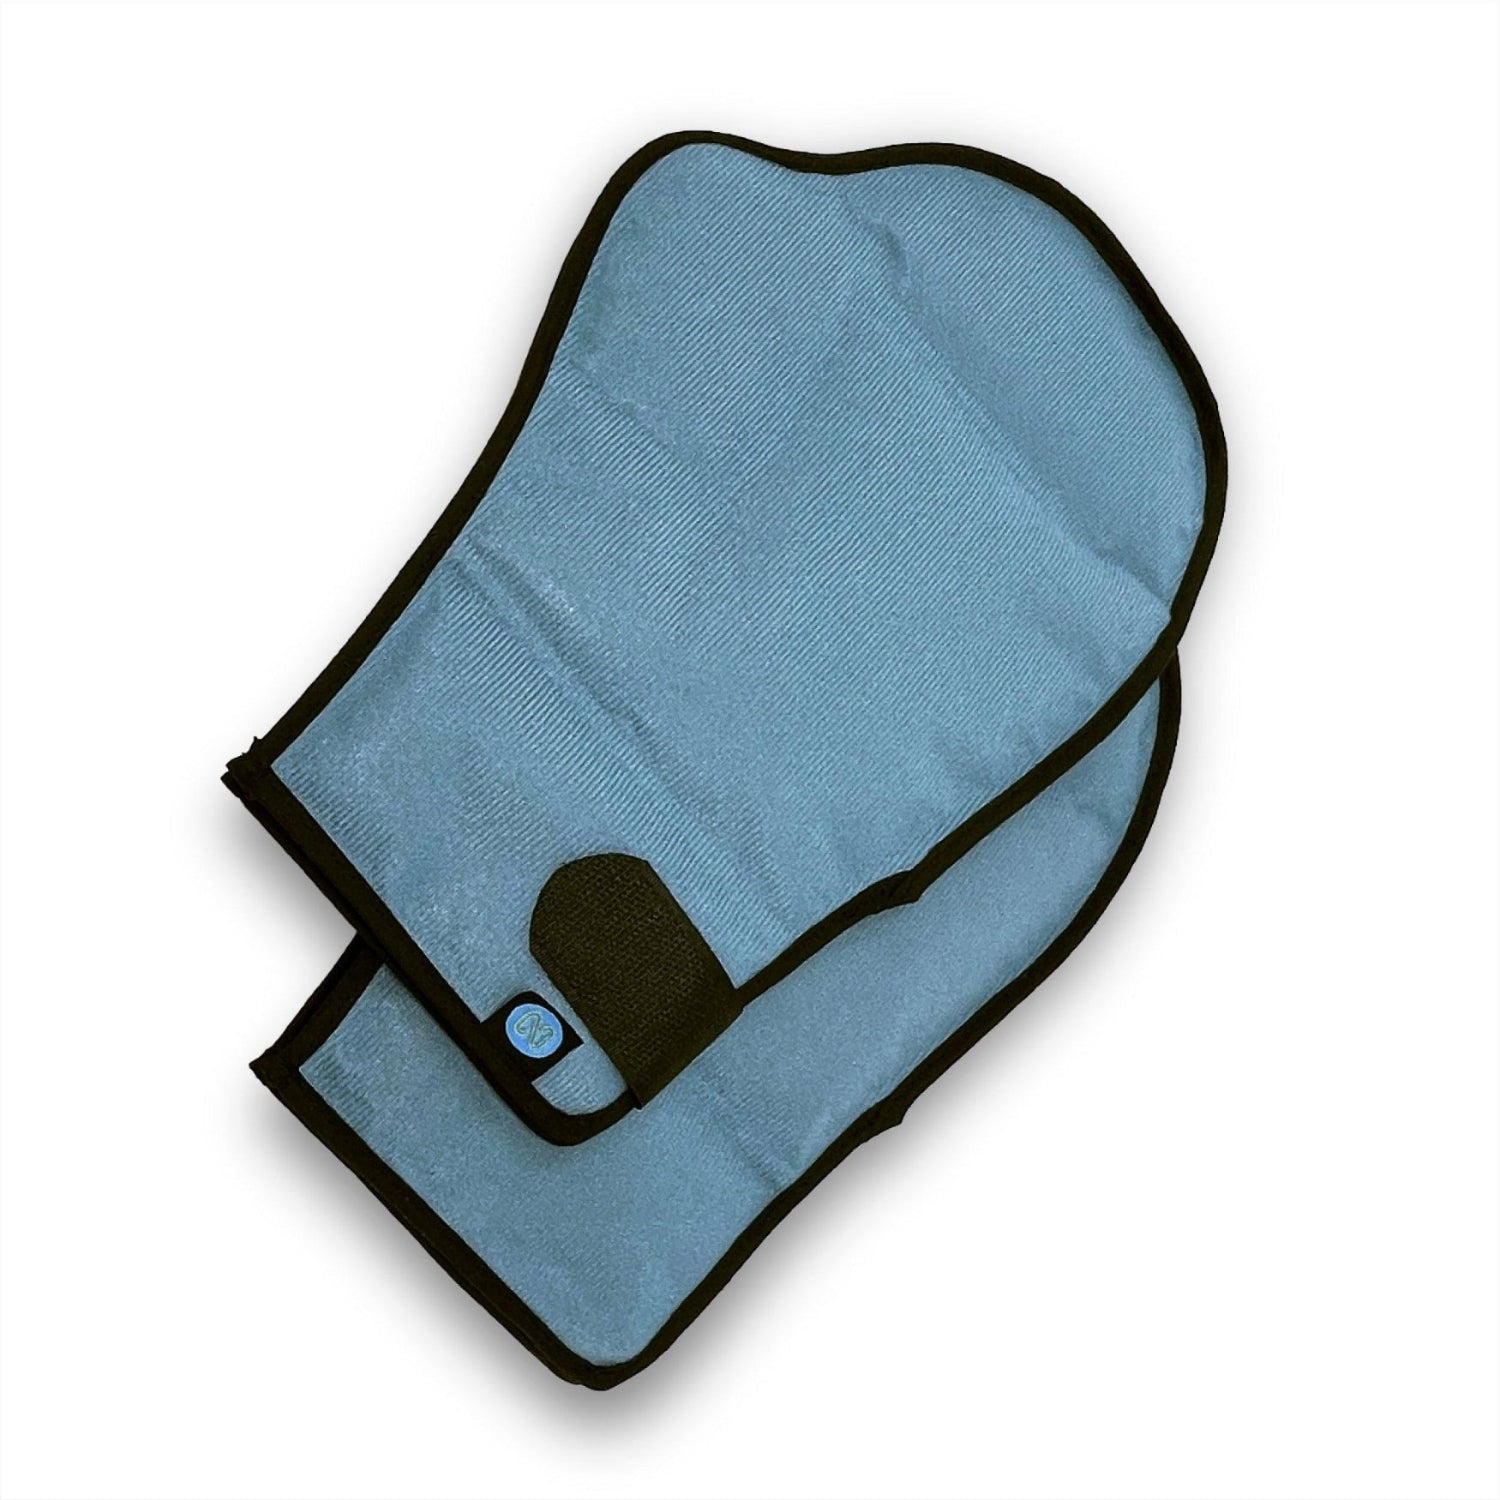
For targeted relief, using a flexible gel ice pack like the NatraCure FlexiKold pack can be incredibly helpful. It conforms to your body, ensuring the cold is delivered right where you need it, whether it's wrapped around a knee, ankle, or shoulder.
Here is a quick reference for icing common injuries and suggested products:
|
Injury Type |
Icing Duration |
Recommended NatraCure Product |
|---|---|---|
|
Ankle Sprain |
15 minutes, every 2-3 hours |
FlexiKold Gel Ice Pack (Small) |
|
Knee Sprain/Strain |
15-20 minutes, every 2-3 hours |
FlexiKold Gel Ice Pack (Standard) |
|
Back or Hamstring Strain |
20 minutes, every 3-4 hours |
FlexiKold Gel Ice Pack (Oversize) |
|
Shoulder/Elbow Pain |
15 minutes, every 2-3 hours |
FlexiKold Gel Ice Pack (Standard) |
Safe Icing Techniques and the RICE Method
To get the most out of icing, you need to do it safely. A well-known and effective protocol is the RICE method: Rest, Ice, Compression, and Elevation. This combination of steps is a first-aid staple for many soft tissue injuries and helps accelerate the healing process from the very beginning.
Using the RICE method correctly not only helps manage pain and swelling but also prevents further injury. Combining an ice pack with a compression bandage and proper elevation of the injured area can make a significant difference in your recovery time. Next, let’s go through how to apply these steps safely.
Step-by-Step Guide to Icing Safely and Effectively
Applying ice might seem simple, but a few key steps will ensure you do it safely and effectively. The goal is to cool the injured body part without causing skin damage like frostbite. Always place a thin barrier, like a towel, between the ice pack and your skin.
For best results, incorporate the other elements of the RICE method. Using a compression bandage can help reduce swelling, and propping up the injured limb supports this effort.
Follow these steps for safe icing:
-
Protect Your Skin: Wrap the ice pack (like a NatraCure FlexiKold pack) in a thin, dry towel before placing it on the injury. Never apply ice directly to the skin.
-
Apply Ice: Hold the pack on the affected area for 15-20 minutes.
-
Add Compression: If appropriate, wrap the area with an elastic bandage. Be careful not to wrap it too tightly, as this can cut off circulation.
-
Elevate: Raise the injured area above the level of your heart to help gravity pull fluid away from the injury and reduce swelling.
Conclusion
In conclusion, understanding how long to ice an injury is crucial for effective recovery. Following the 15-minute rule and adhering to safe icing techniques can significantly reduce swelling and alleviate pain, allowing you to return to your favorite activities more quickly. Whether you’re dealing with sprains, strains, or other common injuries, having the right tools, like NatraCure's FlexiKold gel ice pack, can make all the difference. Remember to listen to your body and combine icing with the RICE method for optimal results. For more information on using ice packs effectively for various body parts, check out NatraCure's full line of products. Your path to recovery starts here!
Frequently Asked Questions
Are There Any Risks to Icing for Too Long?
Yes, icing for too long can be harmful. Leaving an ice pack on for more than 20 minutes can lead to skin irritation, numbness, and even frostbite or nerve damage. Prolonged icing can also overly restrict blood flow, which may slow down the long-term healing process.
When to Stop Icing and Switch to Heat?
You should consider switching to a heat pack once the initial swelling and inflammation have subsided, typically after 48 to 72 hours. If the area is no longer puffy but feels stiff, heat can help increase blood flow and relax tight muscles, promoting further healing and relieving stiffness.
Can I Use the RICE Method for All Injuries?
The RICE method is best for acute soft tissue injuries like sprains and strains. It is not recommended for an open wound or for chronic conditions like joint pain from arthritis. If you have a serious injury or the pain worsens, it's always best to consult a doctor.
How long after an injury should you ice for?
You should apply an ice pack to the injured area as soon as possible after the injury occurs. Starting the icing process immediately helps minimize the initial swelling and inflammation, which can significantly speed up the healing process and reduce pain right from the start.