How to Use Gel Packs Safely at Home
Cold gel packs help new injuries (first 24–72 hours) reduce swelling; heat helps stiffness or chronic pain (not on fresh injuries). Always use a cloth barrier and limit sessions to 15–20 minutes, letting skin return to normal between sessions. Ask a clinician first if you have diabetes, poor circulation, neuropathy, or very sensitive skin.
Short version: cold packs help new injuries; heat helps stiffness and chronic pain. The guide below shows exactly when to use each, how to prepare gel packs safely, and how to avoid burns or frostbite.
What Are Gel Packs and What Are They Used For?
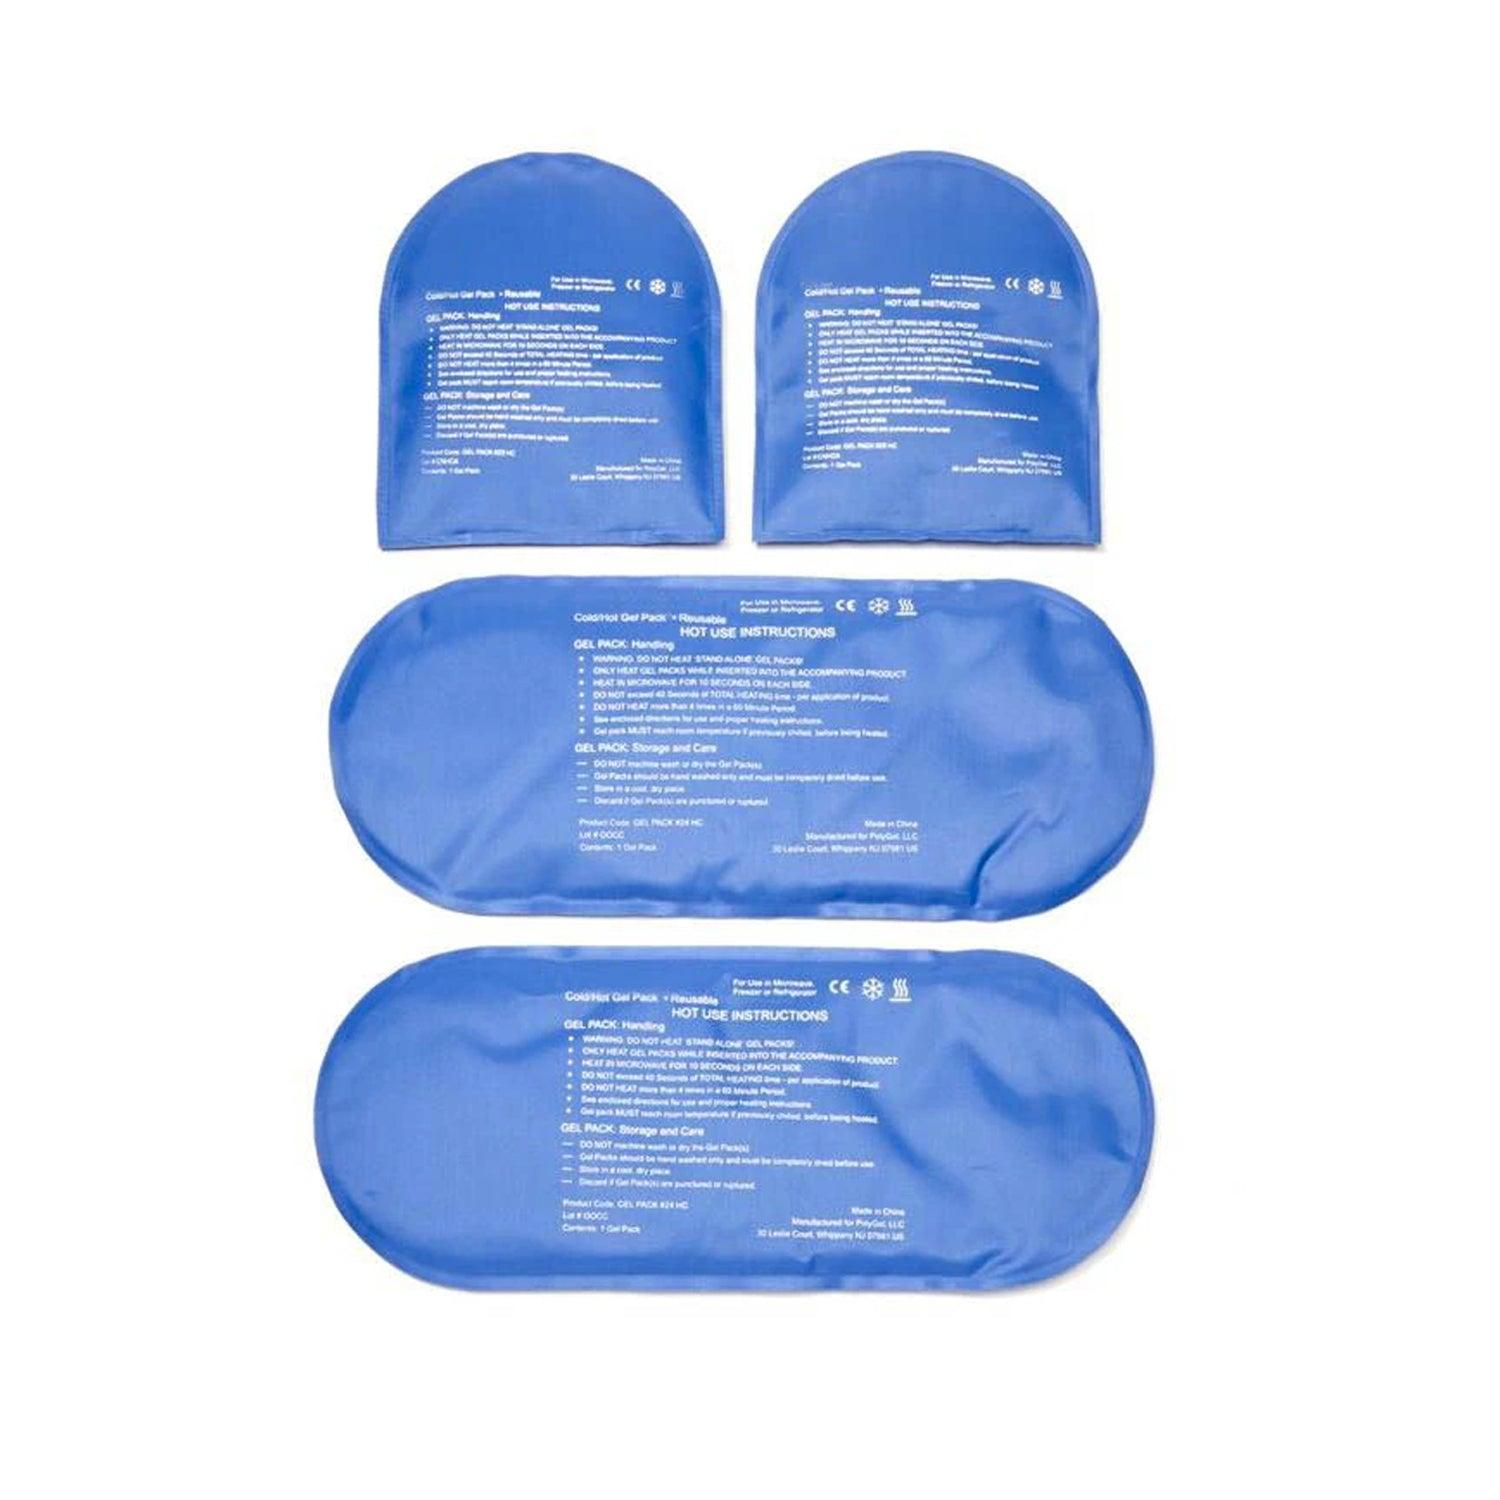
Gel packs are reusable pouches filled with non-toxic gel that can be frozen or heated. Their flexibility helps them conform to body contours for targeted relief. Cold is typically used early after an acute injury; heat is usually used later for stiffness or chronic pain.
When Should I Use a Cold vs. Hot Gel Pack?
For acute injuries like sprains, strains, or bruises, cold is recommended in the first 24–72 hours to help reduce swelling and numb pain. For chronic pain or stiffness (e.g., long-standing muscle tightness or arthritis), heat can ease discomfort by boosting blood flow. Use heat only after acute swelling has subsided.
Cold vs. Heat: What’s the Difference?
| Therapy | Best For | Avoid When | What It Does |
|---|---|---|---|
| Cold (cryotherapy) | New/acute injuries (sprain, strain, bruise), swelling (first 24–72h) | Open wounds; poor circulation; cold sensitivity | Constricts blood vessels; reduces inflammation; numbs pain |
| Heat (thermotherapy) | Stiffness, chronic muscle/joint pain, tightness (after swelling subsides) | Fresh injuries; areas with decreased sensation | Increases blood flow; relaxes muscles; eases stiffness |
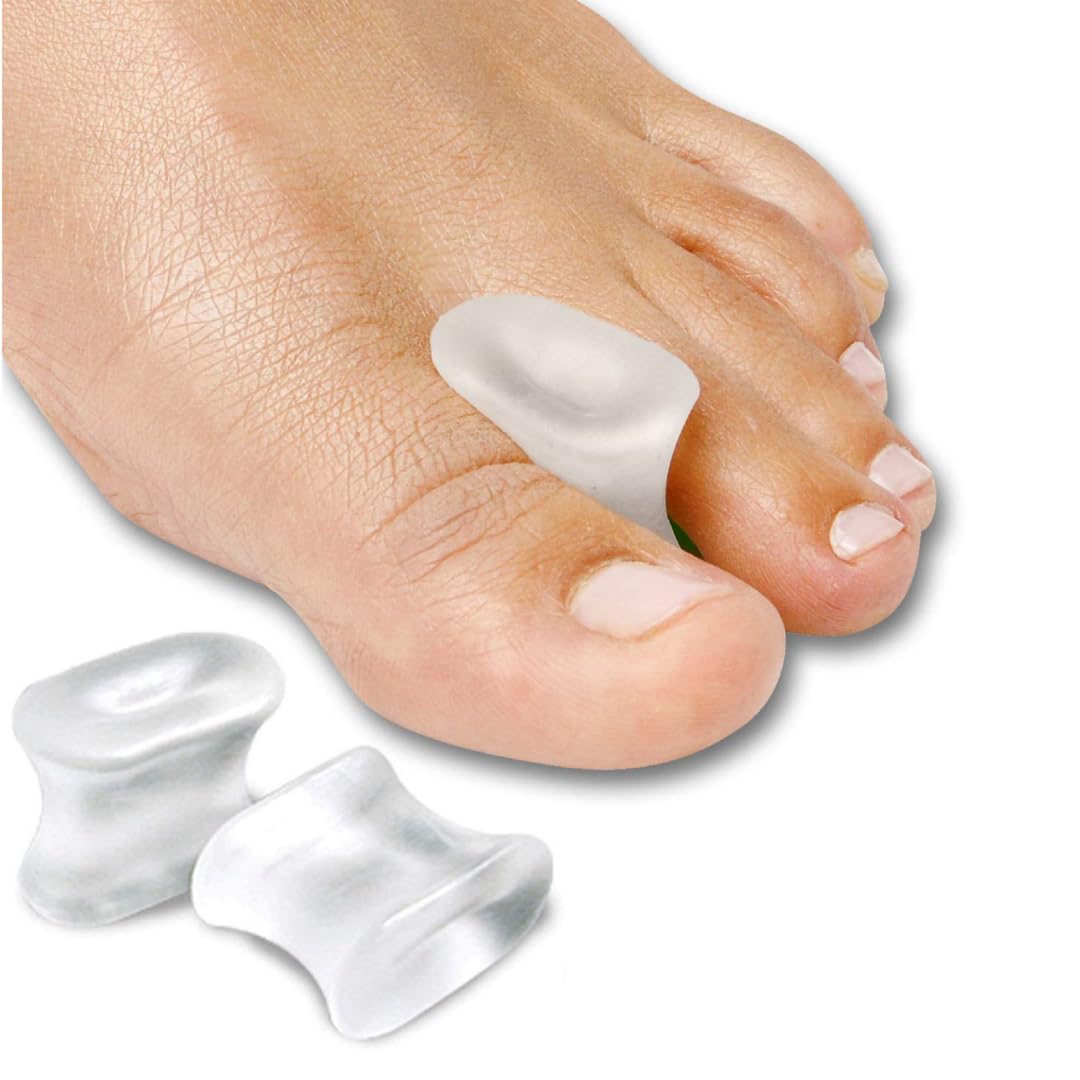
How to Choose the Right Gel Pack (Size, Flexibility, Safety)
- Size: match the area—small (wrist/ankle), medium (knee/elbow), large (back/shoulder).
- Flexibility: choose packs that remain pliable when frozen for even contact.
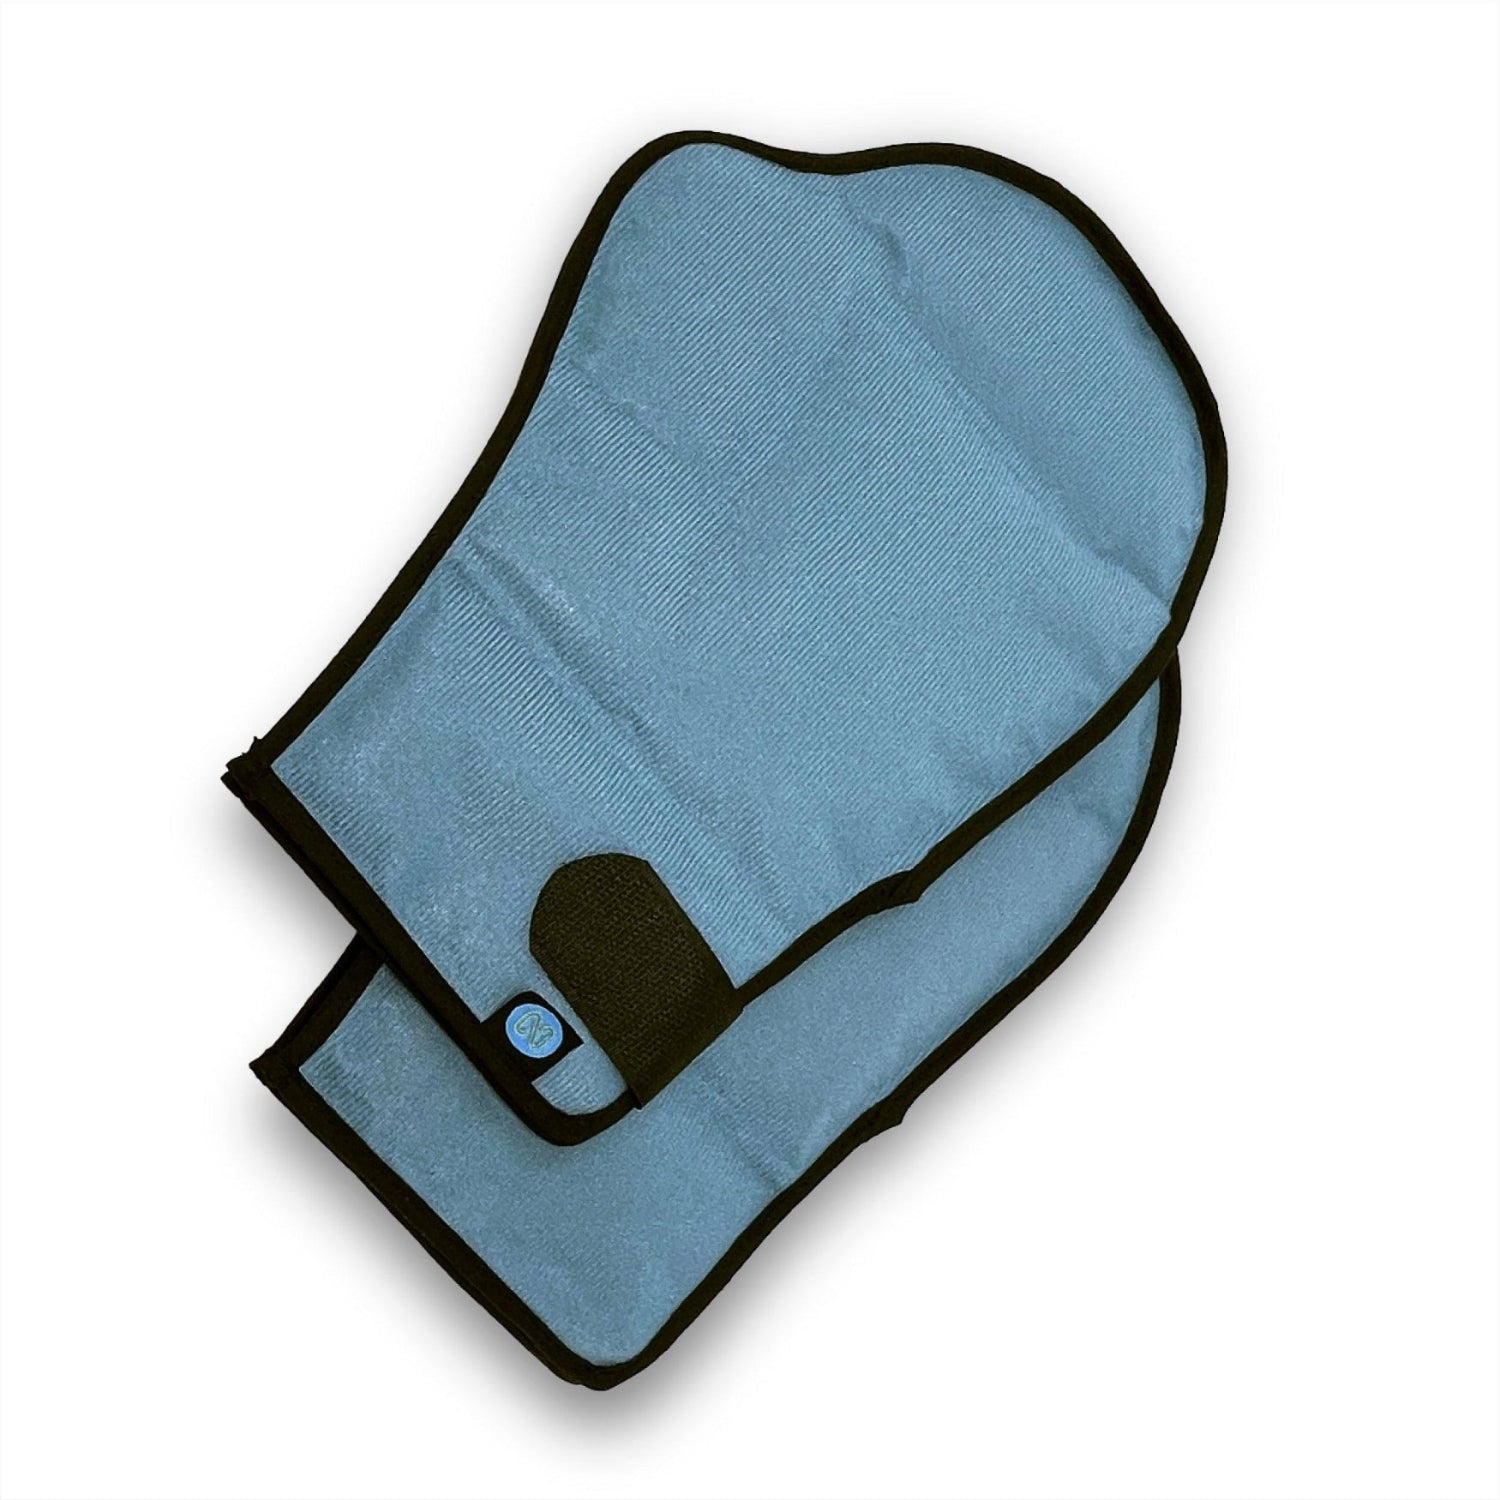
- Material & Safety: select non-toxic, leak-resistant packs; consider those with washable fabric sleeves.
- Reusable vs. Single-Use: reusable packs are cost-effective and eco-friendlier; single-use are convenient for travel.
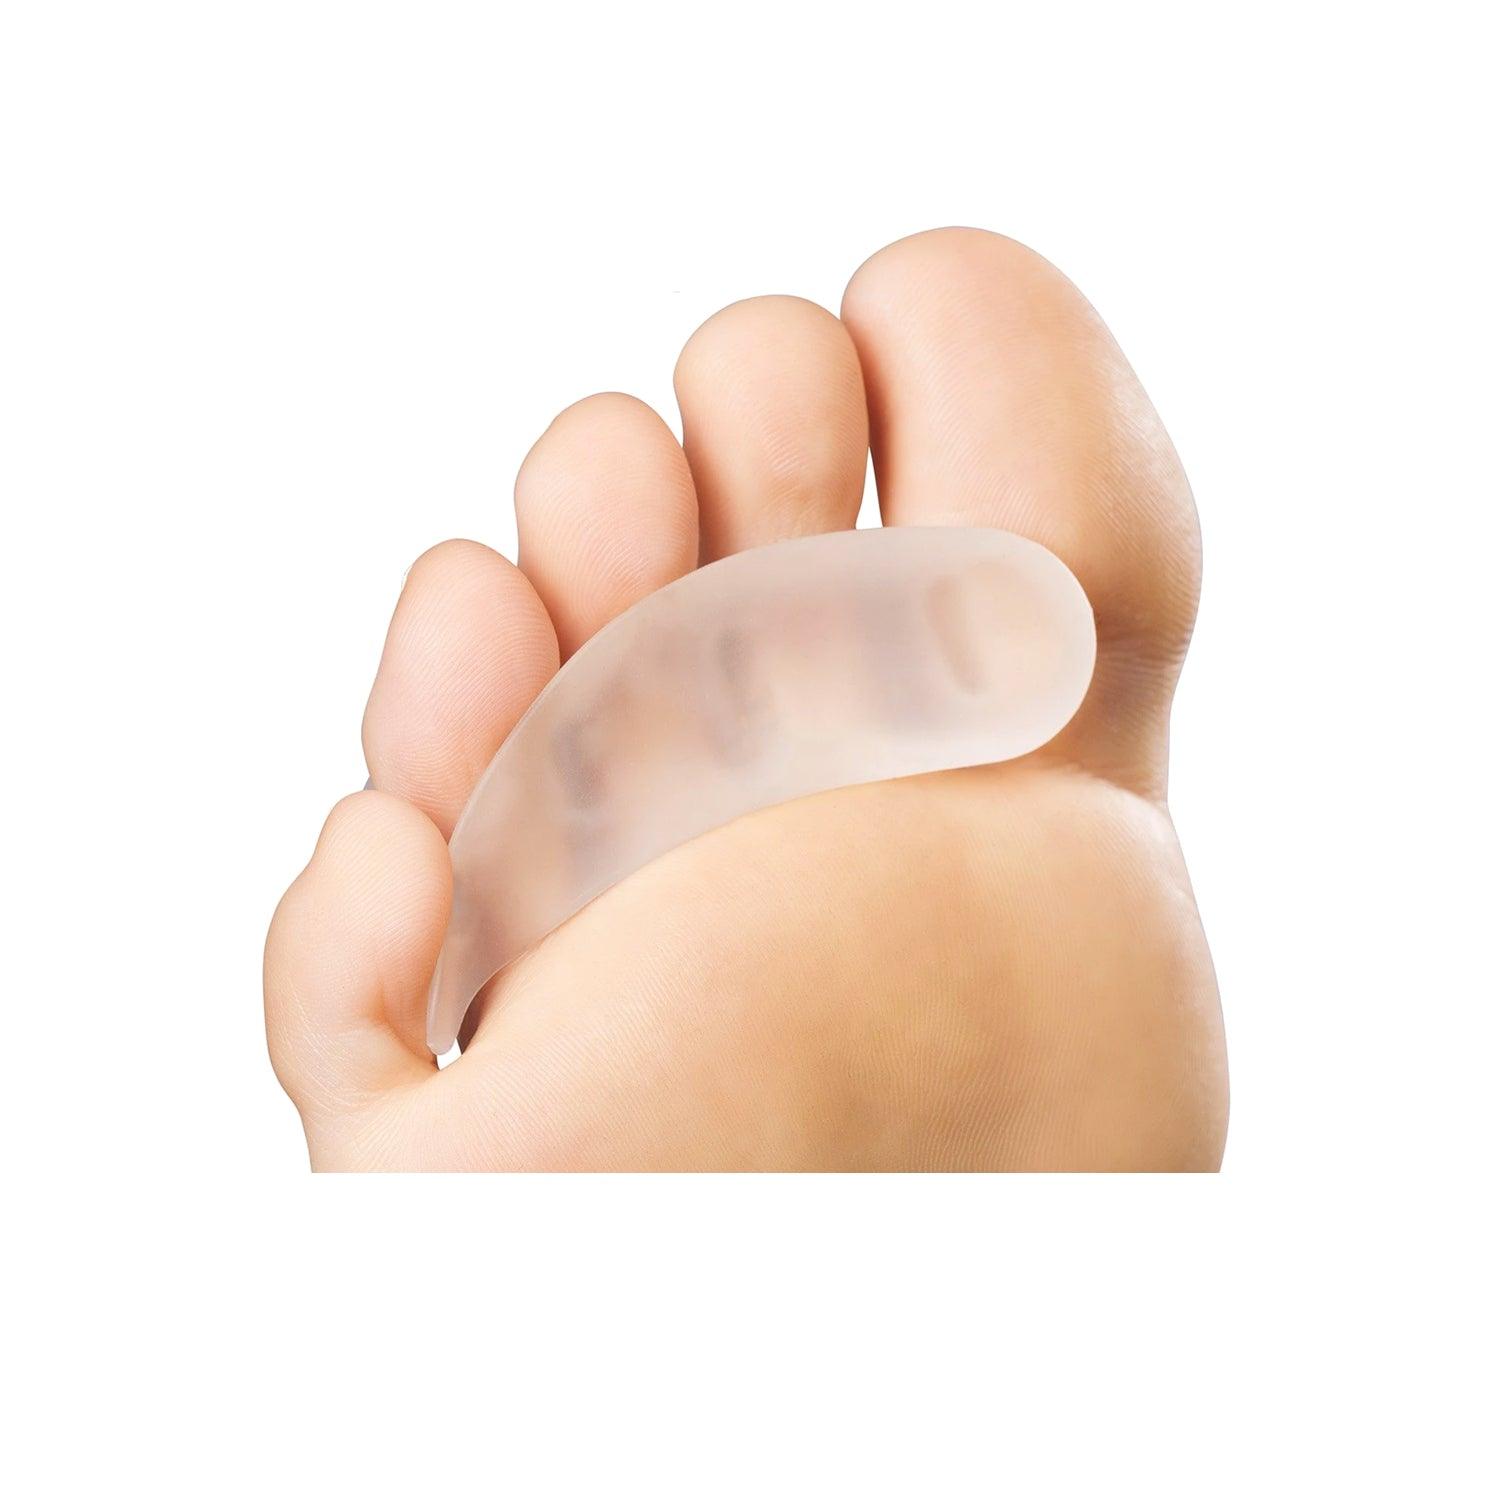
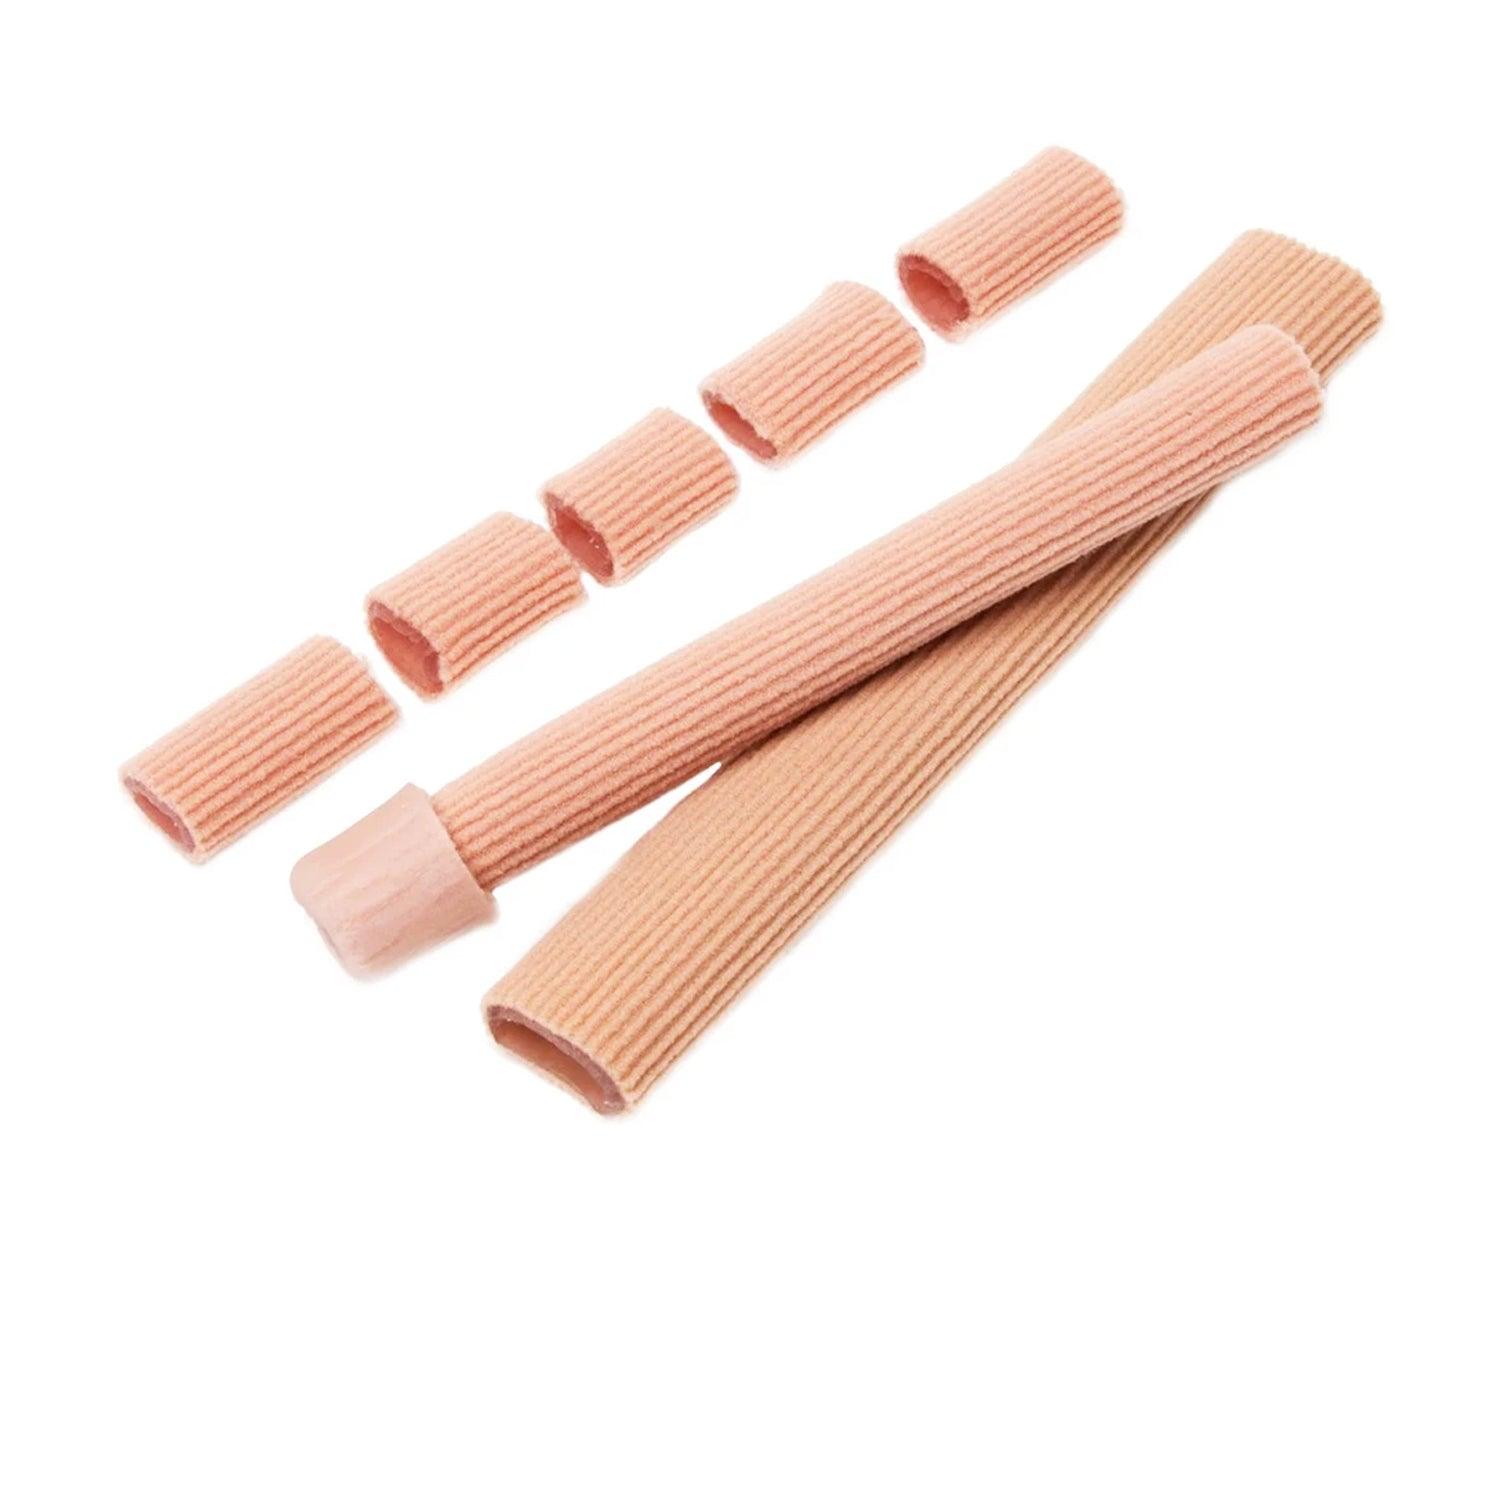
Tip: For flexible coverage, see our reusable gel packs and fabric sleeves to protect skin.
How to Prepare Gel Packs (Cold & Hot)
Cold (Freezer Method)
- Lay the gel pack flat in the freezer for at least 2 hours.
- Place it in a clean bag to keep it hygienic.
- Wrap in a thin cloth barrier before applying to skin.
Cold (Refrigerator Method — Gentler)
- Chill in the refrigerator 1–2 hours.
- Use a cloth barrier; keep sessions shorter if skin is sensitive.
Heat (Microwave Method)
- Thaw the pack to room temperature (do not heat from frozen).
- Place on a clean plate; heat 15–30 seconds; knead; recheck.
- Repeat in short bursts until warm (not hot). Test on your wrist.
- Wrap in a cloth barrier before applying.
Heat (Hot-Water Bath)
- Bring water to a boil, remove from heat, wait 1–2 minutes.
- Submerge the room-temp pack 5–10 minutes.
- Dry, test temperature, and wrap in a cloth barrier.
How to Apply Gel Packs Safely (Step-by-Step)
- Check your skin (clean, dry, intact).
- Wrap the gel pack in a thin cloth barrier.
- Apply 15–20 minutes max.
- Remove; let skin return to normal temperature (40–60 minutes).
- Reapply as needed, following the correct therapy (cold first 24–72h for acute injuries; heat later for stiffness).
Safety Rules, Warnings, and Who Should Ask a Clinician First
Do
- Use a cloth barrier every time.
- Time sessions (15–20 minutes).
- Test temperature on the wrist.
- Use shorter sessions for sensitive skin.
Don’t
- Apply to open wounds.
- Use heat on a fresh injury.
- Exceed recommended heating times.
- Use if skin is numb or you can’t feel temperature.
Who Should Ask a Clinician First?
- People with diabetes or neuropathy (reduced sensation raises burn/frostbite risk).
- Those with poor circulation or Raynaud’s.
- Very young or elderly individuals, and anyone with very sensitive skin.
When to Stop: Red Flags
Stop immediately if you notice:
- Burning pain, pins-and-needles, or persistent numbness.
- Skin turns very pale/white/gray, blisters, or intense redness.
- Worsening pain or any signs of frostbite/burns.
Need the right size or a washable sleeve? Explore our flexible reusable gel packs and fabric covers. Have a medical condition like diabetes or poor circulation? Ask your clinician before use.
FAQs
Is it better to use a cold gel pack or a heating pad for a sprain?
Cold is best in the first 24–72 hours for a new sprain to help reduce swelling and pain. Avoid heat on fresh injuries.
How long should I ice with a gel pack?
Apply for 15–20 minutes per session with a cloth barrier, then allow skin to return to normal temperature before reapplying.
Can gel packs cause frostbite or burns?
Yes—if used too long or placed directly on skin. Always use a barrier and time sessions.
Is it safe to heat gel packs in a microwave?
Yes—follow the manufacturer’s instructions. Heat in short intervals (15–30 seconds), knead between bursts, and test on the wrist before use.
Should I use the freezer or fridge for cold therapy?
Use the freezer for stronger cold (at least 2 hours). Use the refrigerator for gentler cooling or very sensitive skin.
Who should not use gel packs without talking to a doctor?
People with diabetes, neuropathy, poor circulation, or cold/heat sensitivity should consult a clinician first.
References
- Mayo Clinic — Diabetic neuropathy: symptoms & causes
- NIDDK — Diabetic neuropathies overview
- The Hand Society — Heat vs. cold treatment
- Physiopedia — Thermotherapy
- Medical News Today — Heat and cold treatment: Which is best?